
By Melanie Barber
When I was approached to write an article about my favourite subject (Gardening) self doubt immediately crept in. What would I write about that hasn’t been written a million times? Would it be accurate or pulled apart by those who knew more? Would it be good enough?
You see, I completed an RHS Level 2 Diploma in 2019. I should be an expert, but I’m quite comfortable
telling you that I’m not and the good news is, you don’t have to be either!
Many of you out there may not be keen gardeners but perhaps might fancy giving growing a go. I started out through trial and error long before I took the route of the RHS. Many failures happened along the way but I learnt valuable lessons. Even the most knowledgeable gardeners have plant failures.
The internet is full of information about every plant you can think of. How and when to sow the seeds,
which plants are best propagated from cuttings etc. I’m not going to tell you about specific plants – I’m
going to try and encourage you to give growing from seed a try, even if it’s only in one plant pot. In
these strange times we can’t just pop down to the garden centre and buy plants that are already started
for us so now is the perfect time to start our own. What else have we to do?
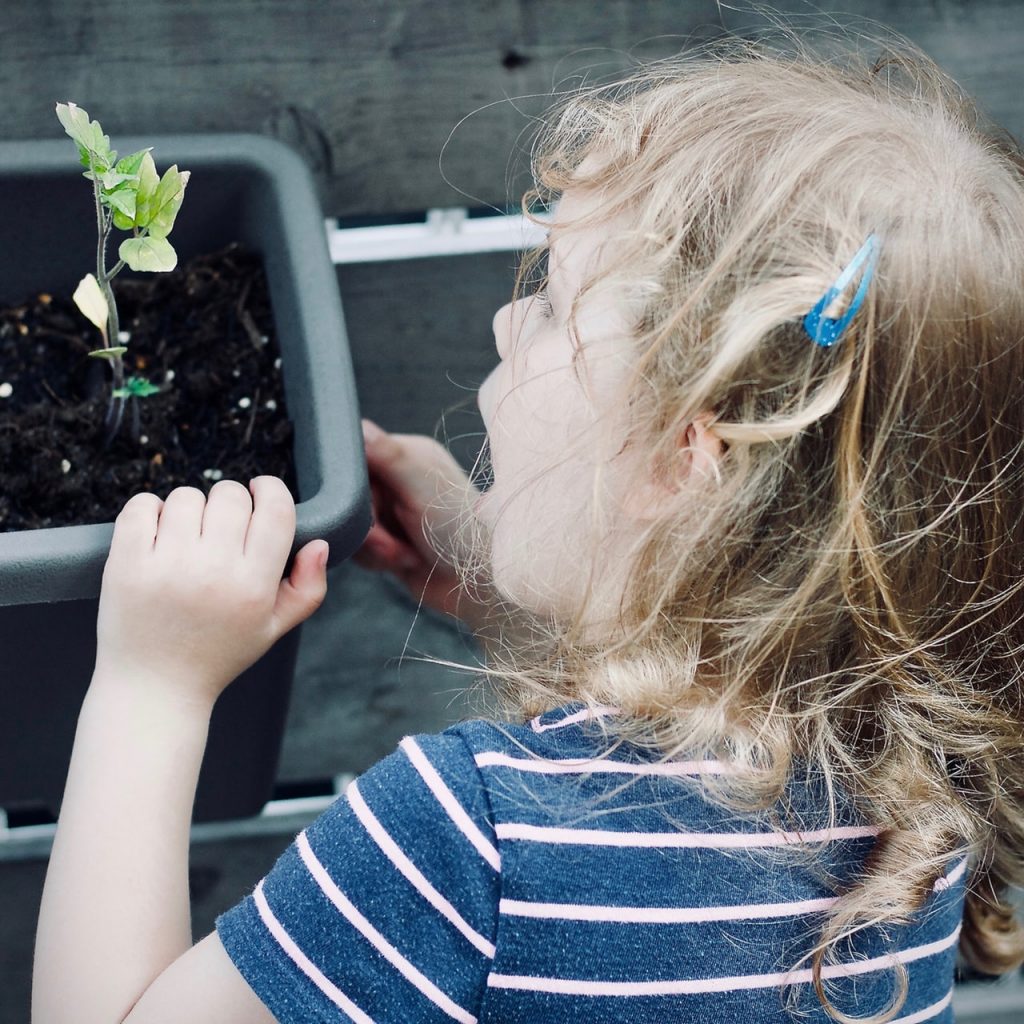
If you’re wondering how to entertain the kids, it can be fun for them to see a plant that they have sown, grow and flower. I do admit though, it’s a slow burner so I’d have some other activities in mind whilst they grow!
So, lets give seed sowing a try! I have a particular fondness for annual flowers. These are plants that
have their whole life-cycle in one growing year (they germinate, flower, go to seed and die). Some
plants are “grown as” annuals so in their own environment (perhaps native to warmer climates) they
last much longer. Our winters in the UK aren’t very hospitable so the plants usually die off once
winter comes.
Some examples of annual flowers are:
- Marigolds
- Poppies
- Petunias
- Cosmos
- Sunflowers
There are two main types of annual; hardy annuals which can be sown outdoors before we have had the
last frost and half hardy annuals which need to be germinated in a warmer environment. The latter need to be protected indoors or undercover until the last frost has passed. Predicting the last frost is a feat in itself but up here in the North it’s usually around the last two weeks in May. So when looking at those seed packets take into account that the North has frosts later than our friends down South.
Have a look online by searching “hardy annuals” or “half hardy annuals” to see what types of plant you
can grow. There are many online shops that sell all sorts of seeds.

Hardy annuals are by far the easiest in terms of effort required to sow as these can be sown directly outside where they are to flower. Poppies are an example of a hardy annual plant.
To prepare the ground for sowing directly into it, make sure the area is weed-free, well dug
over and raked flat. Seeds can be sown in lines (drills) or scattered (broadcast) over the area required. Gently rake the soil over and water in. It really is as simple as that!
Keep an eye on the seeds as they germinate and begin to grow. You may need to do a little housekeeping in the area and remove weeds. If the ground is very dry then the seedlings would also benefit from being watered.
As the seedlings get larger, you can ‘thin out’ crowded seedlings to allow light and air to circulate around
remaining seedlings. Nature then pretty much takes care of the rest.
Now, if you fancy slightly more of a challenge, you can start your half hardy annuals now undercover
(in a warmer environment) before planting out after the last frost. What you’ll need is:
- Seeds of choice
- Compost – Seed or Multipurpose
- Container(s) (seed tray or shallow container with drainage holes and a few plant pots to transfer the seedlings once they are big enough to handle)
- Clear plastic bag or clingfilm to cover the pot after the seeds are sown
- Sieve (optional)
- Watering can with fine rose (optional)
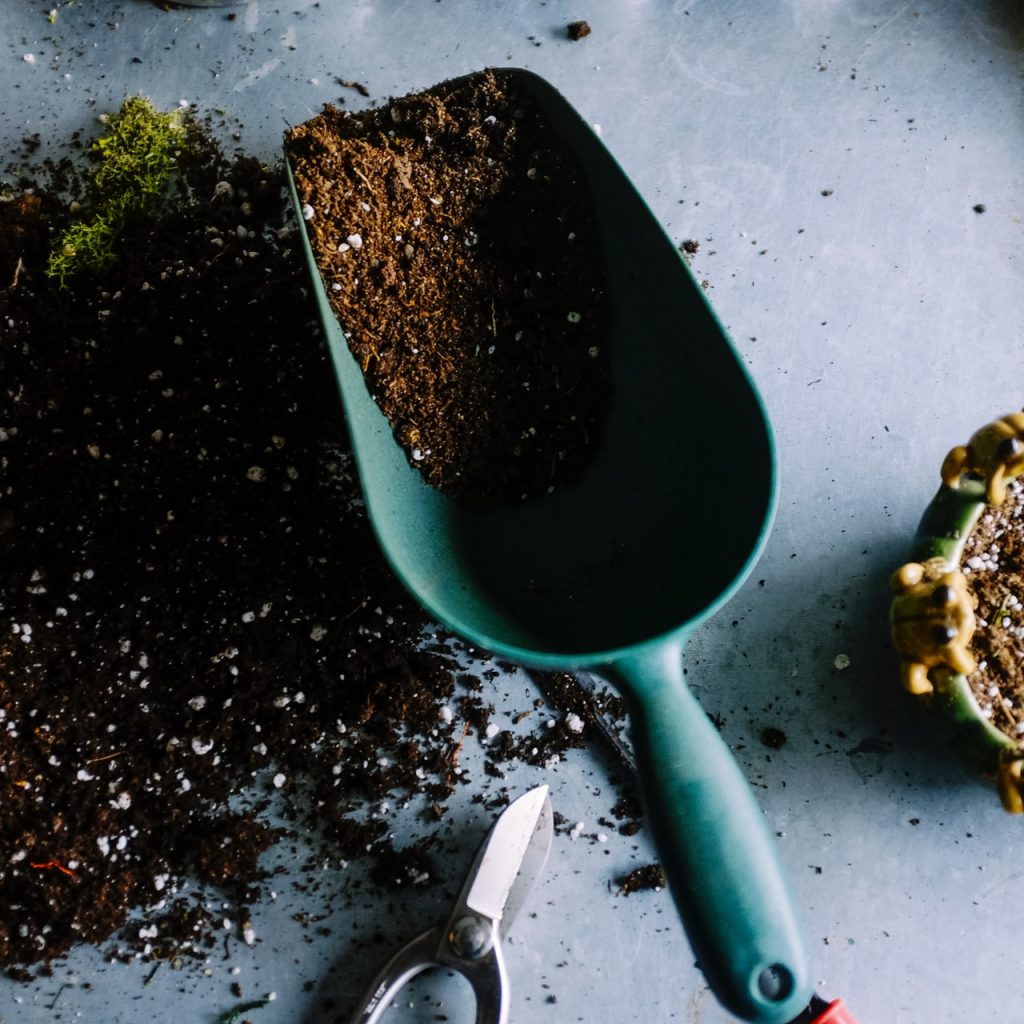
For information, seed compost is generally finer and lacks any extra added nutrients. Seeds don’t need nutrients from the soil at first as nature has ensured that all the energy a seed needs for germination is
contained within the seed itself. Isn’t nature brilliant? Multipurpose compost tends to be coarser and
often has added nutrients to feed the plant as it grows (think well-known brands such as MiracleGro
and Westland for example, with added feed that promotes healthier plants and bigger flowers etc).
Each seed has its own requirements in terms of time of sowing and the amount of light and heat required to germinate (a warm windowsill is a great place to start most off). You’ll find this information on the back of your packet of seeds. If you don’t have a packet and saved some seeds from plants you’ve had before, then just search online for details of how and when to sow them.
Some seeds, for example, need to be covered to exclude light in order to induce germination. Others (usually very fine seeds), need to be left on the top of the soil to germinate successfully. Why not try a few different seeds in different containers and see what results you get?
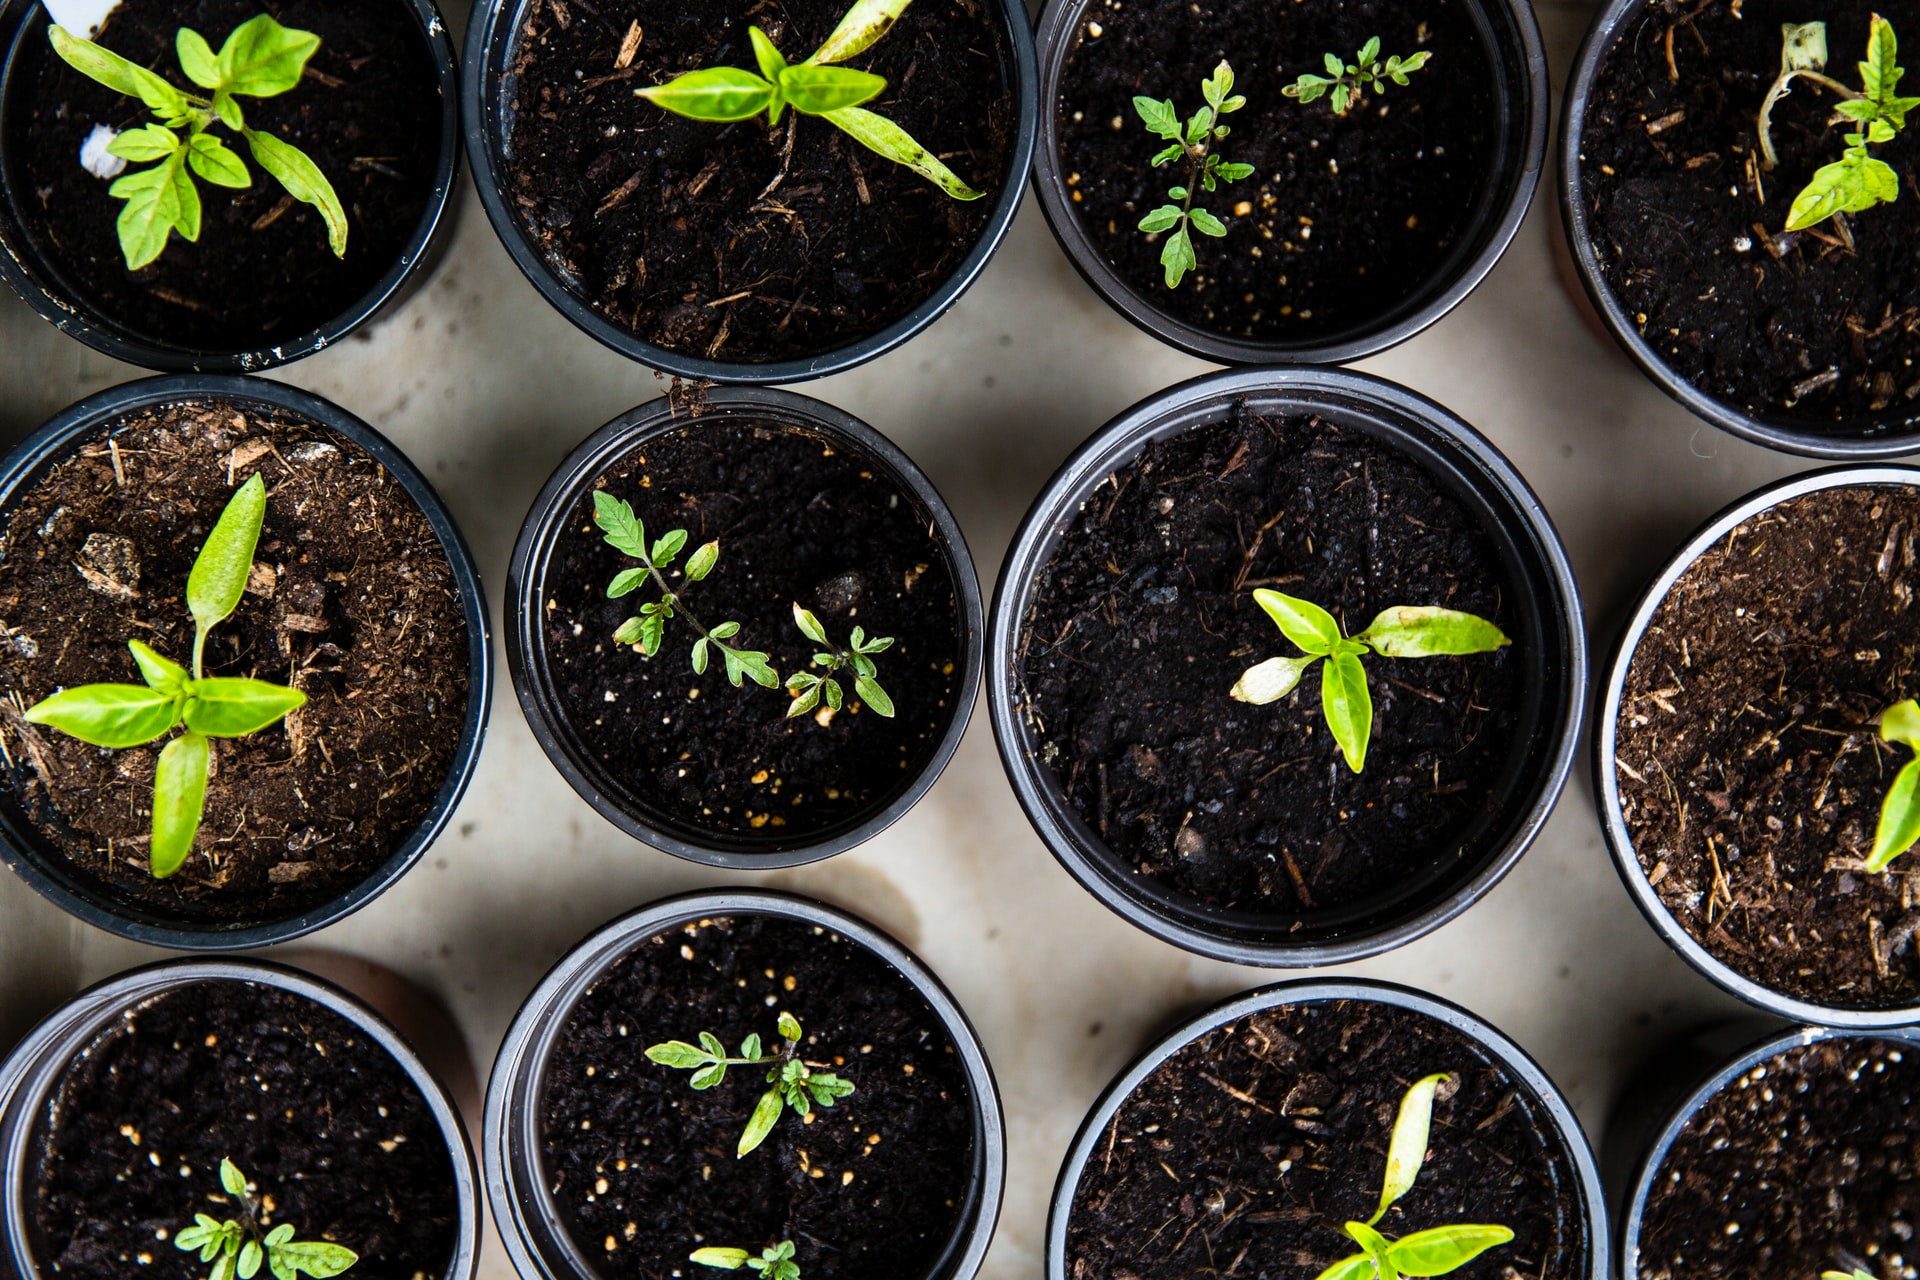
Now for the sowing…
Fill your seed tray or shallow container with compost. If you are using multipurpose compost and are
able to sieve it then this will create a finer medium for the seeds to grow in. Don’t worry if you don’t
have a sieve, just pick the bigger pieces out! Once the container is almost full, firm down the soil gently,
using a flat even surface or your flattened hand. Your container is now ready for the seeds.
Scatter the seeds thinly and evenly onto the surface of your newly firmed soil and cover with a light
dusting of soil if the seeds require darkness. If they need light in order to germinate, leave them on the surface.
Watering!
Watering newly sown seeds can be tricky as too much water at once washes them all together in a
clump. If you have a watering can with a fine rose (the end attachment) then you can gently water the
top of the soil from a height so they are not disturbed too much. If you don’t have a watering can with a
fine rose then find a container you can fit the seed tray in and fill the container with water about
halfway up your seed tray. The water will soak up through the bottom of the tray and not disturb the
new seeds at the top! Remove the tray from the water once the top of the compost is wet and allow it to
drain.
Tip – use fresh tap water for seedlings, many people now use water butts to save rainwater and use this
to water the plants. This is great to use for established plants but unfortunately not so great for new
seeds as standing rainwater can contain pests and diseases which kill the seedlings before they even get
started. Until your seedlings are established you need to keep them in as sterile environment as
possible. This is one of the reasons we use compost and not soil. Properly stored compost is sterile.
You’ve sown the seeds and watered them – what’s next?

Cover the tray with plastic or a clear lid (some seed tray kits come complete with a lid). This is to keep
the humidity high within the container and help those seedlings germinate. Place the container in a
warm and light place indoors.
Once the seeds have germinated, remove the plastic lid and allow them to grow on until two pairs of leaves are showing. At this point gently remove the seedlings from the soil (I use an old chopstick to
encourage the roots out of the soil). Handle the seedling by a leaf (never the stem as it’s too brittle and
can easily be damaged) and transfer the seedling to a new pot of multipurpose compost and water in.
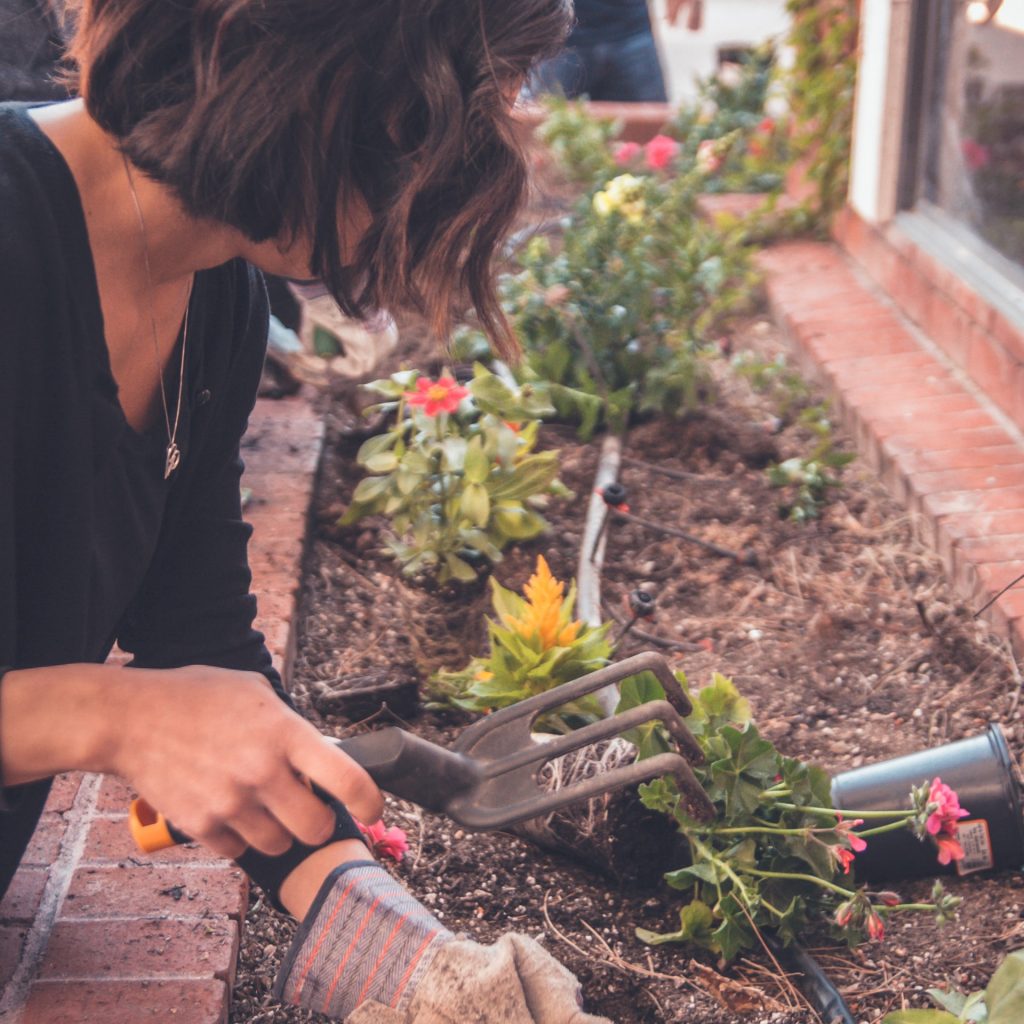
When the frost passes you can start to acclimatise your new plants to the outdoors by leaving them
outside during the heat of the day and keeping them inside at night. After a few days they should be
acclimatised to outdoor weather and you can plant them out in a bright sunny spot.
Tip – compost fertilizer usually works for a few months. Refer to the information on bag of compost for
timescales. After a few months, I recommend feeding the plants using a general purpose plant food for
healthier plants with showier flowers. There are many to choose from and I use ones that are diluted or
dissolved in water to add during my watering routine. Always read the label for instructions.
Good luck and happy sowing!