
The internet provides you with seemingly endless ways to watch series and movies. Whether free or paid, content that’s streamed straight to the TV is a huge convenience. However, it’s not for everybody and it does have its issues. Most notably, there’s no control over when a particular series or movie gets removed from a catalogue. If you can’t keep to their schedules, you might miss out on your next favourite TV series or movie. Luckily, with the help of a simple USB stick, this problem can be easily avoided.
Recording live TV and keeping a physical drive with the videos stored means that you have total control over what’s available to you. It’s up to you when something is deleted, or you can decide to keep hold of something indefinitely so you can rewatch it whenever the mood takes you.
So, if you’ve just bought yourself the best 43-inch TV you could find, you’ll want to take advantage of its excellent live TV recording features.
Why use a USB stick to record live TV?
Many smart TVs can record live TV, they just don’t have the internal memory to store the resulting video files.
If you dive into your guidebook or manual, you might find a spec table that refers to an internal capacity – the number is probably between five and 10GB. While this might seem like it could store an episode or two, this memory is pre-allocated for software – apps and updates. Plus, such a small amount of memory is useless for storing video.
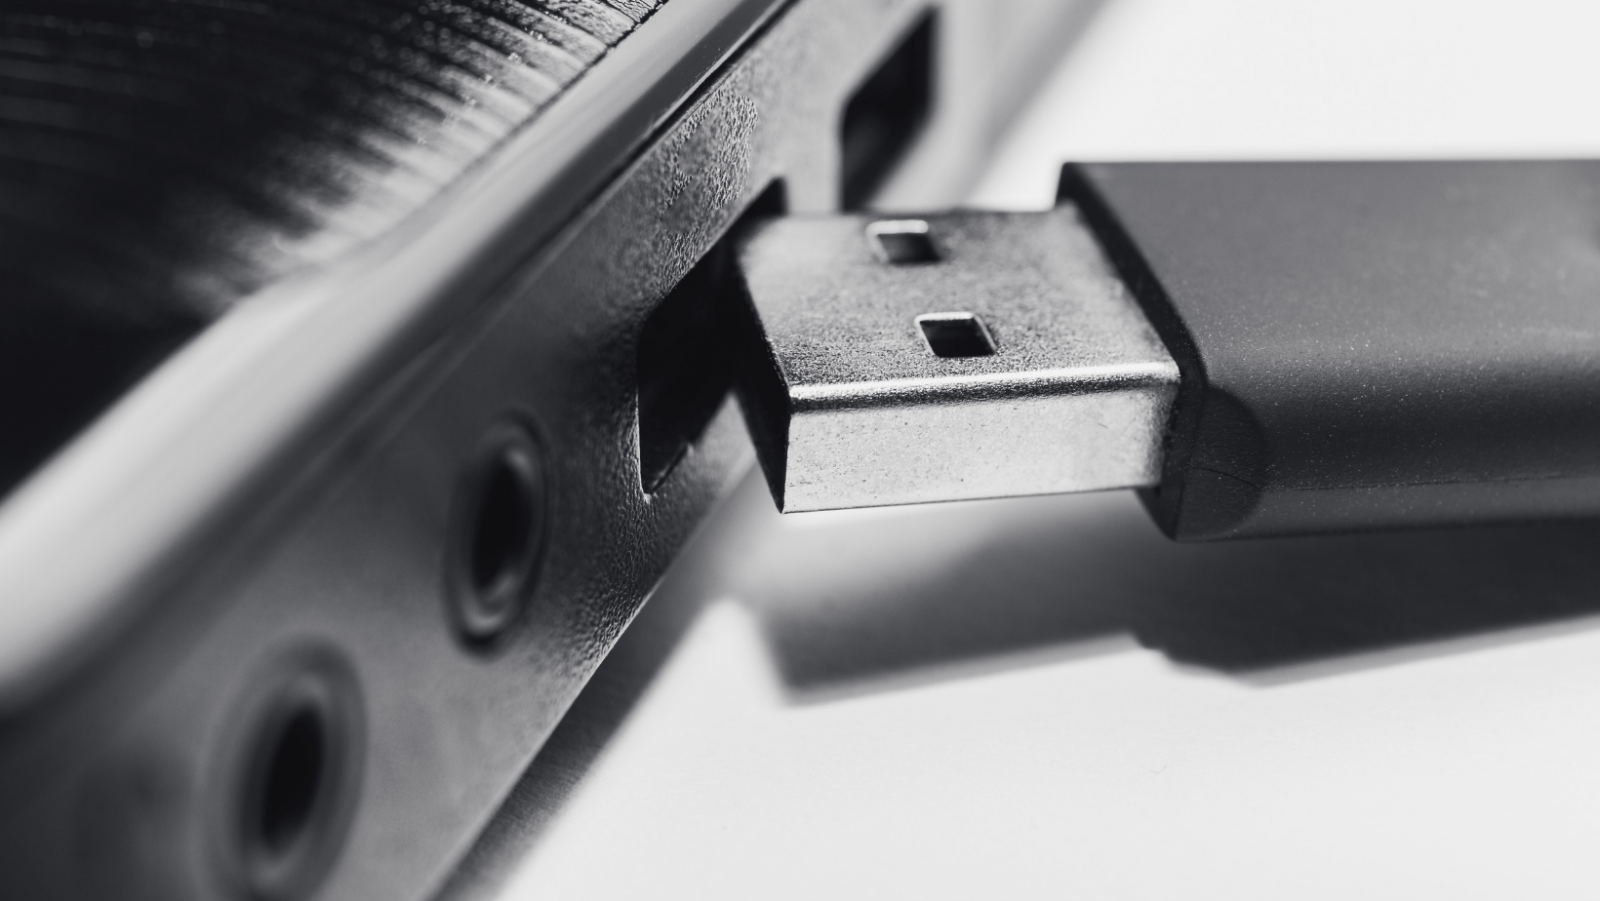
USB sticks are readily available, affordable, and easy to use. Plus, as the technology has developed, they are available with very high capacities – ideal if you are recording from an HD channel, as the files take up much more space than standard quality files.
How to record to a USB stick from live TV:
The first thing you’ll need to do is set the USB stick up on the smart TV – you need to let the TV know where to store the files. This is done via the settings menus, though sometimes the process of setting it up starts automatically when the USB stick is plugged in. The exact installation process for the USB stick varies between TVs, so your best bet is to follow the instructions in your TV manual. If you don’t have this, you should be able to find the details on the manufacturer’s website.
The setting up of the USB stick is the hardest part – and it’s not that hard. Once it’s up and running, you’ll be able to record with a press of the record button on your remote control. You’ll also be able to use the programme guide to schedule future recordings, which is convenient.
What else can a USB stick do with live TV?
The USB stick that you are using to record live TV can unlock another function, too – pausing and rewinding live TV. Great for when you want to make a coffee but don’t want to wait for the ad break.
Note that you might need to set this feature up in the settings on your TV.
What to consider when picking a USB stick to record live TV:
Capacity – Make sure you have enough space to store all the content you want. If you are good at keeping on top of your backlog, you’ll likely be happy with 256GB. If you like to save the whole series, movies and more, then getting a 1TB option is going to see you well.
Read/write speed – Write speed dictates how quickly a USB stick can store a recording, while the read speed is how quickly the USB can have stored video recalled. To ensure that recording and watching occur smoothly, you’ll want to make sure the memory stick has decent read and write times.
We recommend aiming for anything upwards of 300MB/s.