
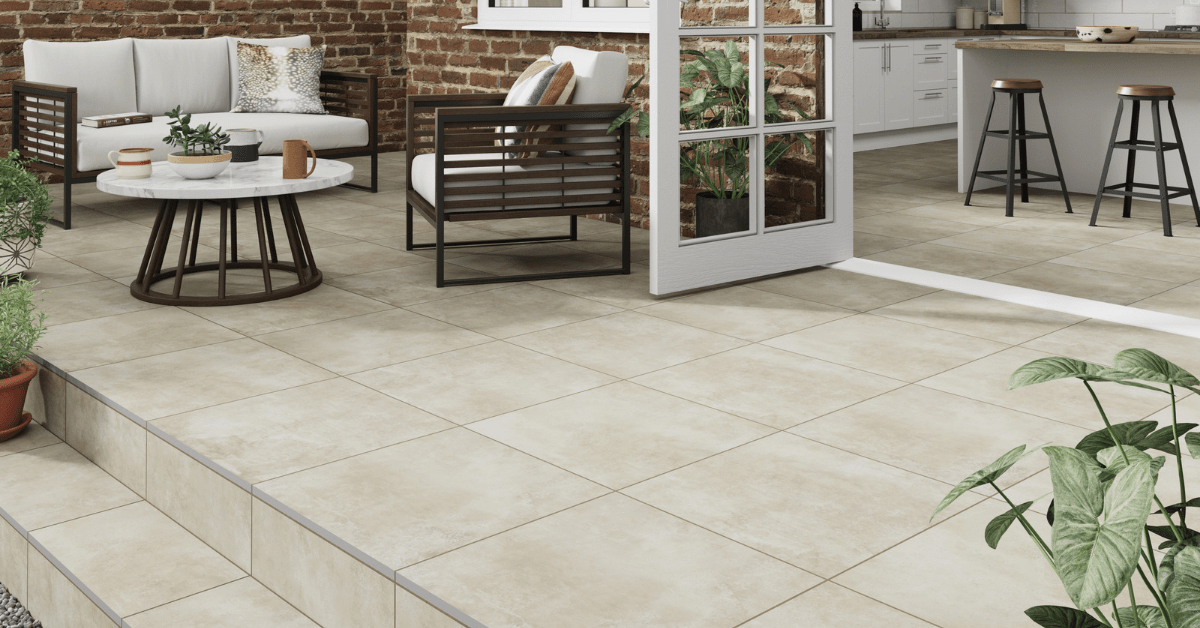
Spring has finally sprung, so now is the time to get your garden summer ready. Many of us will turn to entertaining at home this year, so there really has never been a better reason to transform that tired or unruly garden into a space you can truly enjoy.
With the know-how, the right tools and careful preparation, it is possible to install your own outdoor porcelain tiles. Follow these simple steps to create your own patio area or garden path.
The experts at Verona, the UK’s largest natural stone, ceramic and porcelain tile distributor have put together a handy how-to guide on installing outdoor tiles, so you can make the most out of your garden.
How to lay outdoor porcelain tiles like a pro…
Step 1
Mark out the area where you want your patio or path to be with posts and string. Measure the length and width of your area and multiply these values together to calculate the square meterage. If your area is not a straight forward square or rectangle, break each area down into smaller rectangles. Calculate each rectangle, then add these values together. Once you’ve calculated the total square meterage, multiply this number by 1.1. This adds 10% extra to your total to allow for cuts and wastage.
Step 2
Although outdoor porcelain tiles don’t need to be sealed to protect them from water penetration, you may find the installation process easier if you coat the tiles before installation with a tile protector. This prevents mortar and slurry from becoming ingrained in the surface of the tiles and makes cleaning up after even easier. Apply to the surface of the tile with a foam roller, taking care not to coat the edges as this can prevent the grout from bonding. This will also help with general upkeep once installed to protect your tiles against the dirt of everyday living.
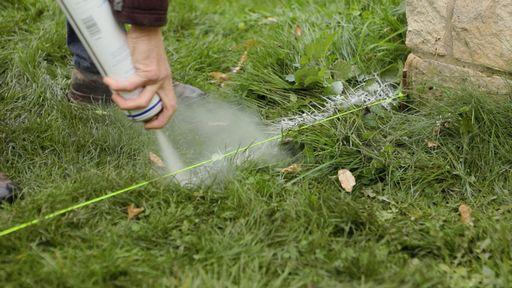
Step 3
Before you lay your tiles, you will need to prepare the ground by digging to a depth of around 150-200mm. The ground should have a slight slope to allow for drainage. If you’re tiling up to the edge of a house or wall, the slope should run away from the structure to avoid water pooling.
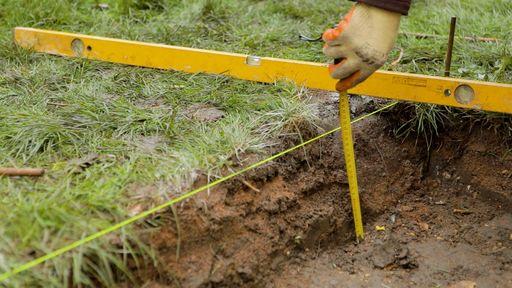
Step 4
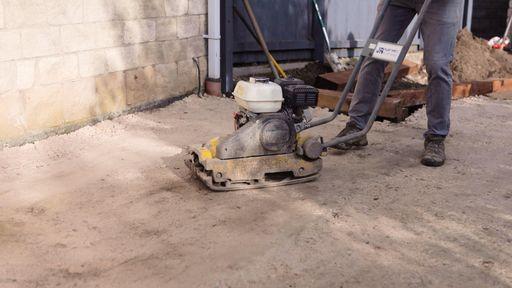
Fill the dugout area with hardcore (gravel and crushed hard rock) to a depth of 100-150mm and use a rake to spread it evenly. Compress the hardcore using a power plate, building up in layers. Remember to check that your ground still has a slight slope by using a long spirit level or line level.
Step 5
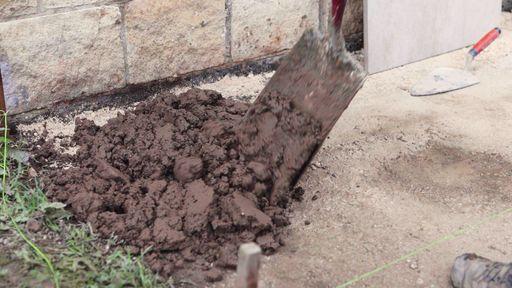
Add a layer of mortar on top of the compressed hardcore. We recommend 4 parts sand to 1 part cement.
Step 6
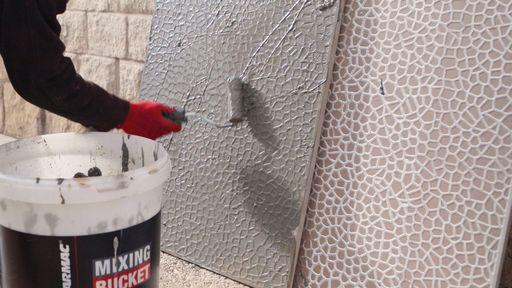
Place 7 litres of clean water in a suitable container. Add your slurry powder and mix for 3 to 5 minutes to create a smooth lump-free slurry. Coat the underside of the first tile with priming slurry. Using priming slurry is an essential step to ensure that your tiles stick to the mortar bed.
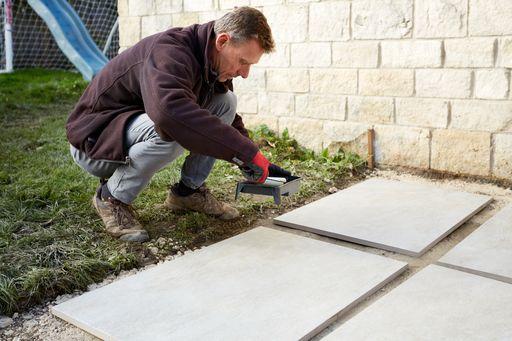
Step 7
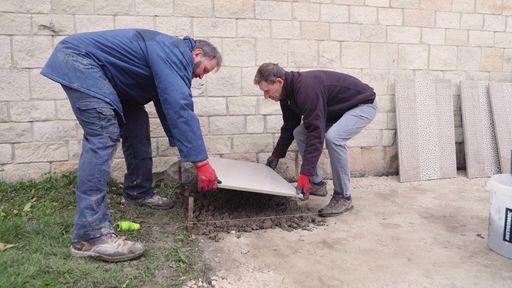
Place the first tile into position, using a corner as a starting point – for example, next to a wall or house. Press into place and use a rubber mallet and spirit level to secure and adjust the level, remembering to take drainage into consideration. Continue to lay tiles in this way leaving a 3-5mm gap between each one. Use a bucket of water and sponge to clean up any mortar or slurry as you go.
Step 8
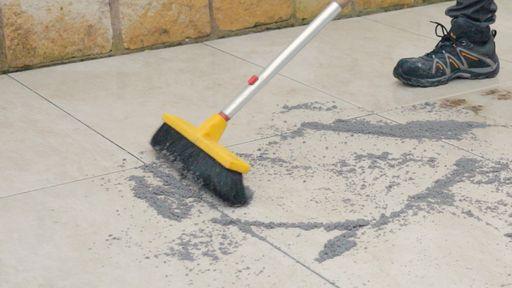
Avoid walking on your newly laid patio for a minimum of 24-48 hours to allow it to dry and strengthen. If you wish to infill any joint gaps, use a brush-in grout designed for outdoor porcelain tiles. Use a brush to mix over the joints, gradually and evenly filling them all in. Once the joints are filled, use a pointing trowel to firm the grout into place. Add more grout if needed to create a clean and level finish.
For more information visit www.veronagroup.co.uk